Oracle Database 19c base release (19.3) was introduced before the release of Linux 9, leading to certain compatibility issues during installation. This guide will help you navigate and resolve these issues

- Set Environment Variable to Bypass OS Check:
The Oracle 19.3 installer does not recognize Linux 9.
[WARNING] [INS-08101] Unexpected error while executing the action at state: 'supportedOSCheck'
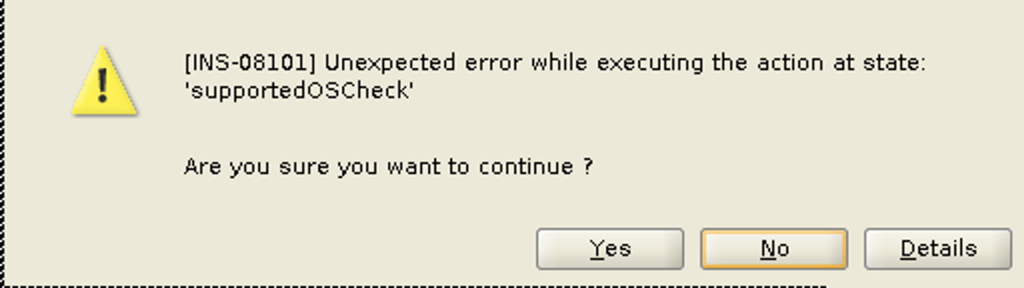
To bypass this, set the CV_ASSUME_DISTID environment variable to simulate Oracle Linux 8
export CV_ASSUME_DISTID=OL8
2. Unzip the Base Release:
Create the $ORACLE_HOME directories and unzip the base release under it.
$ mkdir -p /u01/app/oracle/product/19c/dbhome_1
$ chgrp oinstall /u01/app/oracle/product/19c/dbhome_1
$ cd /u01/app/oracle/product/19c/dbhome_1
$ unzip -q /u01/install/LINUX.X64_193000_db_home.zip
3. Update the OPatch Utility:
Download the latest OPatch utility (Patch 6880880) and replace the existing OPatch directory。
export CV_ASSUME_DISTID=OL8
mv $ORACLE_HOME/OPatch $ORACLE_HOME/OPatch_bkp
unzip -qqd $ORACLE_HOME /u01/install/p6880880_230000_Linux-x86-64.zip
4. Install Oracle 19.3 and Apply the Latest Release Update (RU):
Download the latest RU (e.g., 19.24) and apply it during the installation.
export CV_ASSUME_DISTID=OL8
./runInstaller -applyRU /u01/install/36582781
5. Create the Database Silently:
After installing the software, use the Database Configuration Assistant (DBCA) to create the database in silent mode
dbca -silent -createDatabase -createAsContainerDatabase true -templateName General_Purpose.dbc -gdbname yuan -sid yuan -responseFile NO_VALUE -characterSet AL32UTF8 -totalMemory 3096 -emConfiguration LOCAL -datafileDestination /u01/oradata
With these steps, you can successfully install Oracle Database 19c on Linux 9, overcoming the initial compatibility issues and ensuring your installation is up-to-date with the latest patches and updates.


Leave a comment